Superpowers
Capture
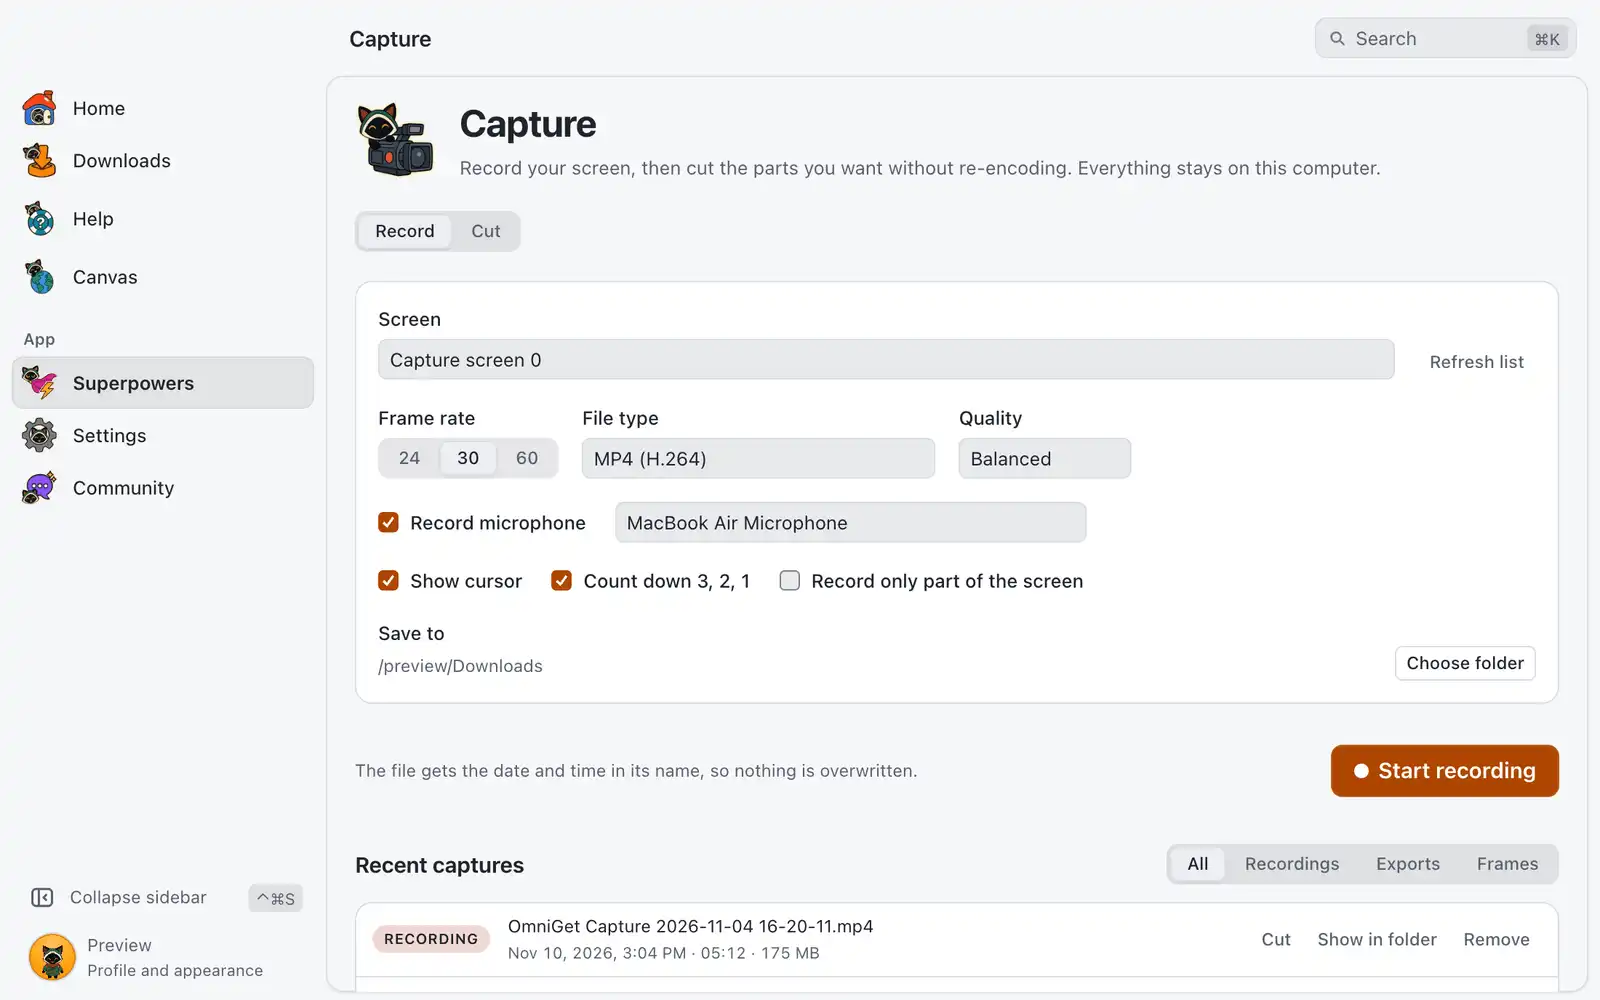
Capture records your screen, and cuts videos into the parts you want to keep. Cuts are copied straight from the file, so they are fast and keep the original quality, and everything stays on your computer.
Where it is
Open Superpowers in the sidebar and choose the Capture card. The card is always shown: there is no switch for it in Settings › Integrations › Superpowers. The page has two tabs, Record and Cut, with Recent captures below them.
Capture needs FFmpeg. See Dependencies.
How to use it
Record your screen
- Open Record and pick what to record in Screen. On Windows the list also has open windows, shown as Window: and the title.
- Set the options you want (see the table below).
- Click Start recording. A countdown runs first; escEsc or Cancel stops it.
- Click Stop recording. The file gets the date and time in its name, so nothing is overwritten.
- Click Cut this recording, Show in folder or Record again.
Capture records the microphone only. It does not record the sound your computer plays.
Cut a video
- Open Cut, then drop a video or click Choose video. Open last recording appears if you have one.
- Move to where a part you want starts and click Set start (I).
- Move to where it ends and click Set end (O). The part appears under Segments.
- Repeat for each part. Add whole video adds the entire file as one segment.
- Under Export as, choose One file or One file per segment.
- Click Export video (the button counts the files when there are several).
- Click Show in folder, Open the result or Keep editing.
Under Segments you can edit the Start and End of a part, and change the order or remove a part. The order in the list is the order in the exported file. If segments overlap, those parts appear twice; Merge overlapping segments joins them.
Save frame as PNG saves the frame you are on as an image. If a video cannot play inside the app, you can still cut it with the timeline and the time fields.
Recent captures
Recent captures lists your recordings, exports and saved frames, and you can filter by All, Recordings, Exports or Frames. Cut opens an item in the Cut tab, and Show in folder finds the file. Remove takes an item off the list only: the file stays on disk.
Options
Record
| Option | What it does | Default |
|---|---|---|
| Frame rate | Frames per second: 24, 30 or 60. |
30 |
| File type | MP4 (H.264), MOV (H.264) or MKV (H.264, safest if the app closes). | MP4 (H.264) |
| Quality | High (bigger file), Balanced or Small file. | Balanced |
| Record microphone | Adds the microphone you pick. | On, if a microphone is found |
| Show cursor | Shows the mouse pointer in the video. | On |
Count down 3, 2, 1 |
Waits before the recording starts. | On |
| Record only part of the screen | Records a rectangle set by Left (px), Top (px), Width (px) and Height (px), measured in screen pixels from the top-left corner. On Retina screens, use double the point size. | Off |
| Save to | Where the file goes. | Default downloads folder |
Cut
| Option | What it does | Default |
|---|---|---|
| Export as | One file joins the segments. One file per segment saves each one on its own. | One file |
| Snap to keyframes | Puts your marks where a lossless cut can start. | On |
| Precise cut (re-encode) | Cuts on the exact frame. It is slower and the file is re-encoded. | Off |
| Remove audio | Exports the video track only. | Off |
| Save to | Where the file goes. | Same folder as the video |
Shortcuts
These work in the Cut tab when you are not typing in a field.
| Keys | What they do |
|---|---|
| I | Set the start of a segment |
| O | Set the end of a segment |
| Space | Play or pause |
| ← / → | Move one frame |
| ⇧←Shift+← / ⇧→Shift+→ | Go to the previous or next keyframe |
| Home / End | Go to the start or end of the video |
| ⌦Delete or ⌫Backspace | Remove the selected segment |
| escEsc | Forget a start you set but have not ended |
Common problems
FFmpeg is missing
Install it from Dependencies, then click Check again or Refresh list.
OmniGet can’t record the screen, or can’t use the microphone (macOS)
macOS has not given OmniGet permission. Use Open Screen Recording settings or Open Microphone settings, turn on OmniGet in the list, then quit and reopen OmniGet and start again.
No display found (Linux)
Recording on Linux needs an X11 session (the DISPLAY variable). Wayland-only sessions are not supported yet. Log in with an X11 session and try again.
The device is busy
Another app is using this screen or microphone. Close it or pick another device.
“FFmpeg took too long to finish, so it was stopped.”
The recording was saved, but its end may be missing.
The export failed
FFmpeg could not copy these segments. Turn on Precise cut (re-encode), or choose another folder in Save to.
A part at the start of a segment is extra
That is the keyframe limit described above. Use Precise cut (re-encode) to start on the exact frame.